The Step-by-Step Process of How a Shipping Container Is Made
Written by Susan Nalevac | May 26, 2022
Shipping containers are vital to our daily lives, but did you ever wonder how they make a 20-foot new shipping container? Find out in our breakdown of the step-by-step process of how a shipping container is made!
Steps For Making Shipping Containers:
1. Making the Wall Panels
The first step in the container-making process is creating the wall panels. A container’s panels are made from large steel sheets, typically Corten Steel.
The sheets are laid out, cut down, sandblasted, and then corrugated for enhanced strength. After that, the sheets are welded together to create the panel.
2. Assembling the Floor
After the walls comes the floor. Shipping containers’ floors are made up of I-beams with two longer ones laid out perpendicular to one another and smaller I-beams welded in between to create a solid base.
3. Creating the Doors and Corners
Next, it’s time to make the doors and corner posts of the container. A container’s doors are also made of corrugated steel, cut down to size, and encased in steel tubing before being sanded smooth.
The corner posts are then welded to the I-beams and the doors to the inside I-beams. The integrity of the corner posts is crucial because that’s where most of the weight goes when containers are stacked upon one another.
4. Assembling the Box
Once there are walls, floors, doors, and corners, it’s time to assemble the box. The door frames are craned into position and welded down, and then the wall panels are welded into their place. Last but certainly not least, the roof panel is lowered and welded onto the container.
Fun fact: There are an estimated 17 million shipping containers in circulation globally!
5. Paint & Primer
With the steel box assembled, we’re about halfway through. Next, the paint workshop takes over, where they prime the container with undercoating before applying several layers of paint for protection against harsh elements like salt and water.
The paint is vital to preventing the container from rusting while on an ocean voyage.
6. Install Flooring
Now that it’s assembled and painted, it’s time to install the wooden flooring. Plywood panels are installed and varnished with a protective coating to keep out bugs and pests that could cause rot and damage.
7. Apply Logos & ID
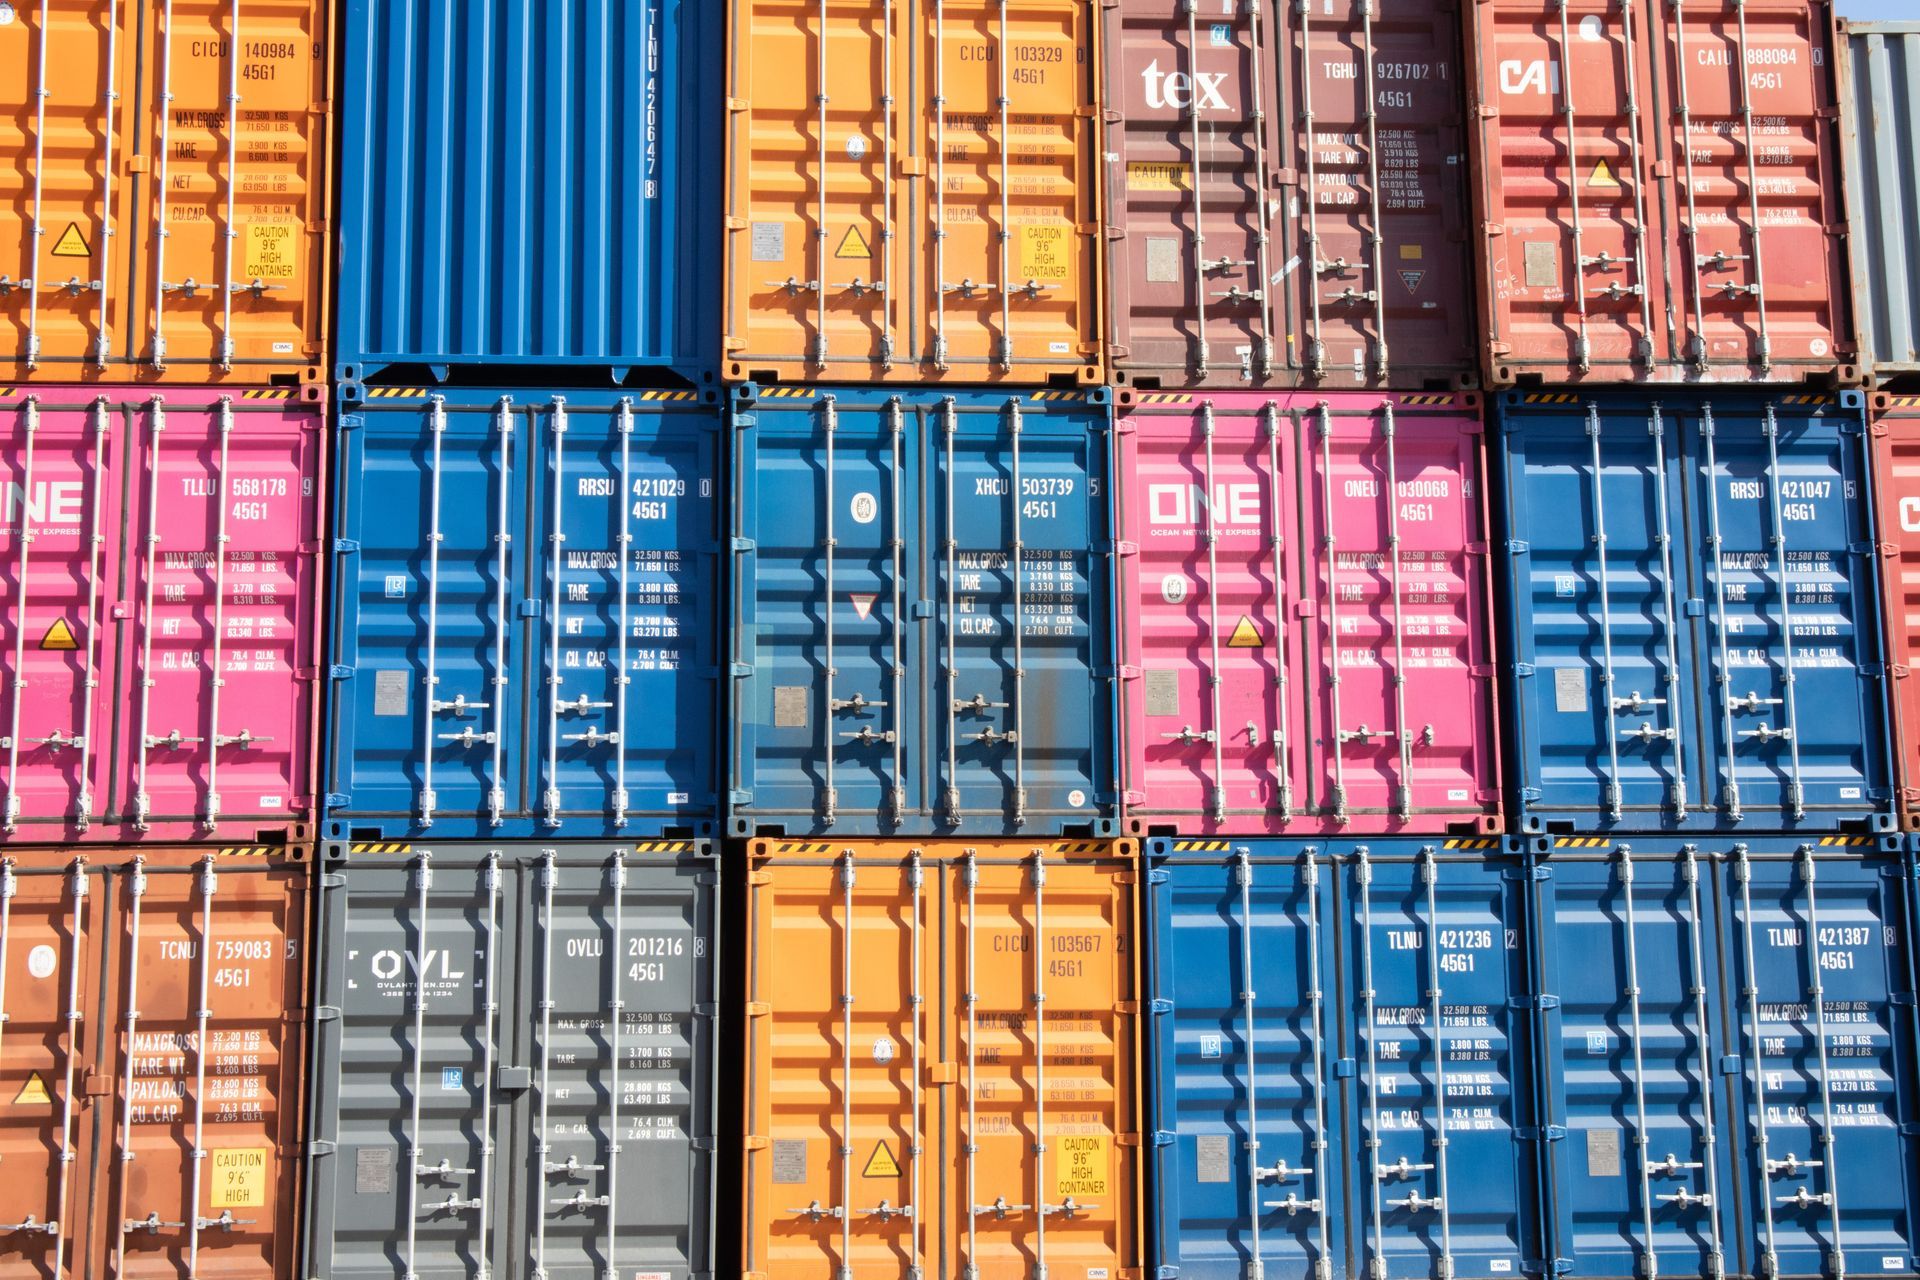
Once the paint and primer are dry, the company will apply the needed paint decals, logos, and identification codes.
There’s a unique code for all containers worldwide so its owner is known no matter where the container winds up on the globe.
8. Locks and Sealant
We’re almost finished, but now come the final touches. The door handles and locking mechanisms are installed, and then a protective sealant is applied to keep water out.
9. Testing
Before the container is cleared for duty, it needs to be tested for water resistance. The container is thoroughly soaked with water and the sealant is examined for leaks. If it passes, it’s ready to travel the world!
Conclusion
The step-by-step process of how a shipping container is made is quite simple, but then again, they’re pretty simple steel boxes!
If you want to learn more about shipping containers,
ask the experts at Container Management, Inc.